RJ45 Crimping and Installing a Network Switch
When my internet was installed the router was put in the living room which is far away from where I have a small homelab setup in another room. I was looking for the best way to bring a wired connection to this room which is separated by a wall and a closet.
First thing first lets talk about Ethernet cables and their connectors. I will be using Cat 5e cables. This is perfect because they are generally cheaper than Cat 6 and at lengths less than 100 meters the speed they support is the same. I have fiber optic 1 Gig internet and these cables will be able to handle that. These use RJ45 ends which I will be crimping using a crimping tool.
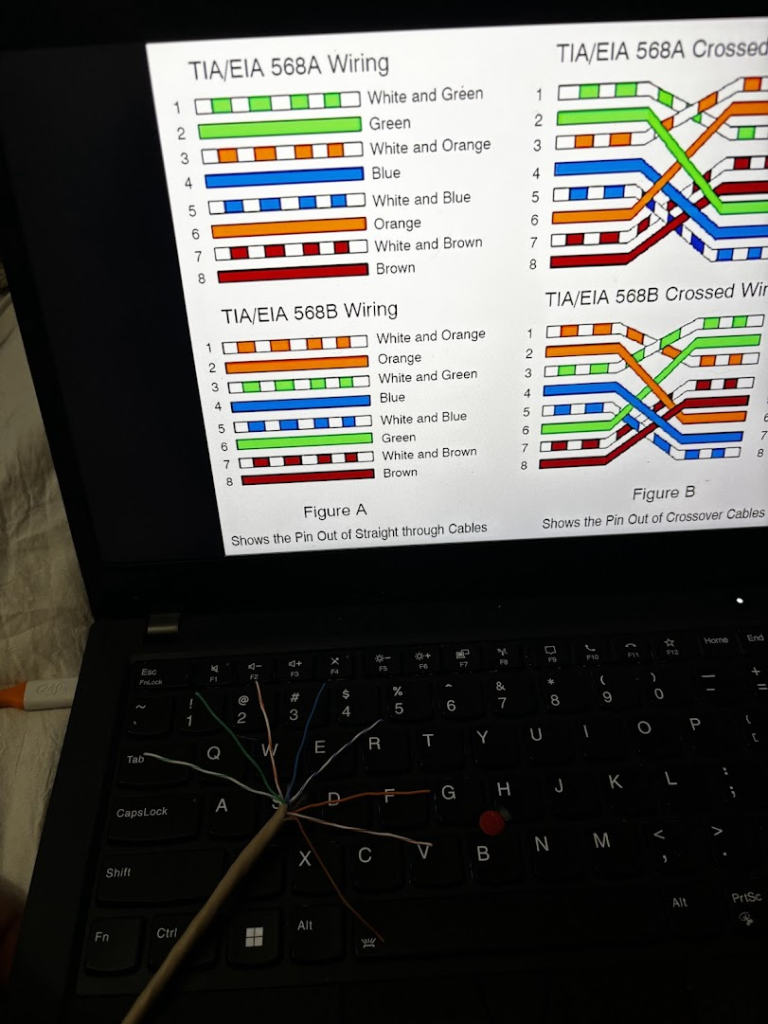
There are multiple different standards for ethernet cables. The most common are going to be T568a and T568b
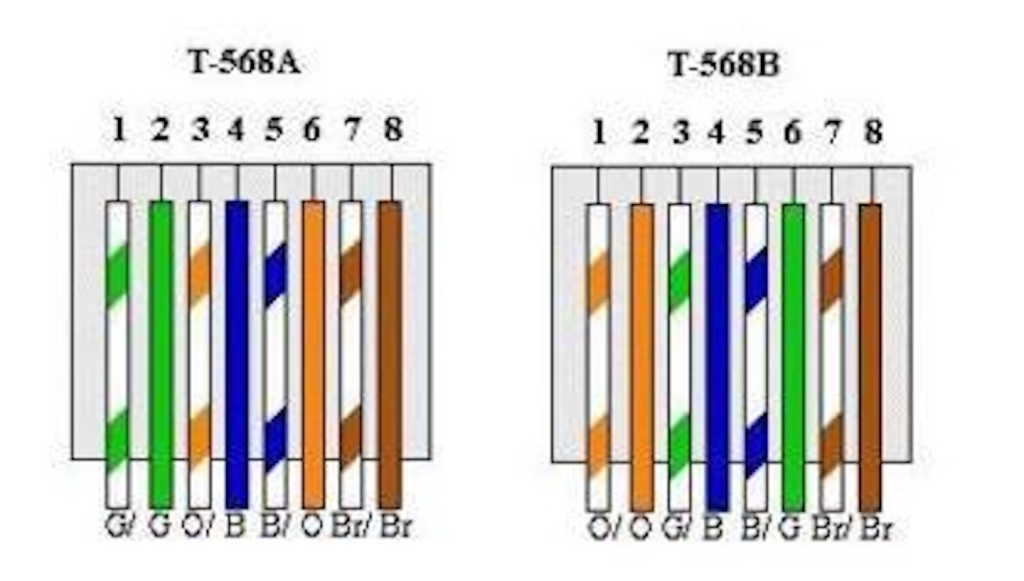
The first step would be to strip about 3 inches of the outer shielding of the cable and untwist the pairs of wires and choose which standard to use. I typically stick with T568a out of preference. Arrange the individual coloured cables into the right order
Once they are in the correct order, start to push them together and clip them to about the length of a RJ45 connector.
Press them into the connector and insert it into the crimping tool and squeeze.
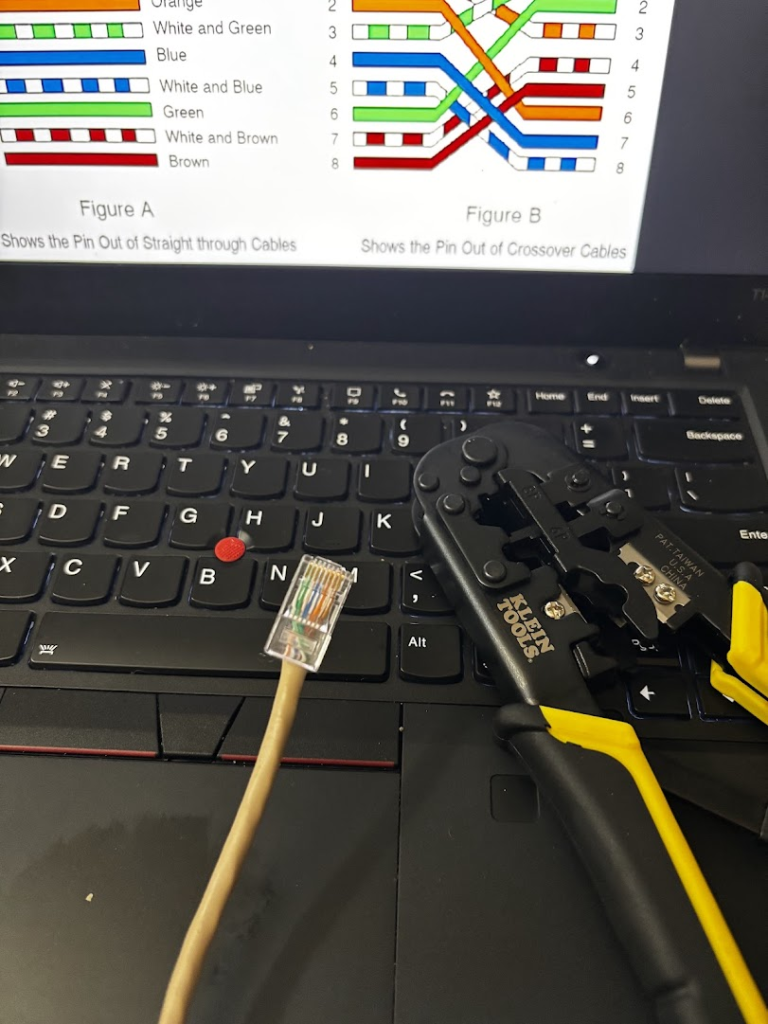
That’s it! Cable made.